We may earn compensation from some listings on this page. Learn More
AI image generators have been around for over a decade, but the latest progress in the field has been noteworthy. Among the list of AI image generators, Dall E 2 and Midjourney have stood out as two of the best tools in the market.
But the question remains as to whether we can use these tools for free or not. Nobody trying out a tool for the first time wants to pay money upfront without experiencing the benefits of using the AI tool. But Midjourney’s payment plan requires users to pay even for a single image. But what about Dall E 2? Is it free to use? That is what we will learn How to Use DALL·E 2 for Free in this article.
Dall E 2 is OpenAI’s AI tool that only requires text prompts to get its machine-learning model to start working and generating extraordinary creative images from scratch.
Some claim Dall E 2 image generation algorithm to be better than Midjourney’s, but AI is all about learning from usage, and Midjourney might catch up soon with time.
Yes, Dall E 2 is free to use but on a limited basis. Initially, when Dall E 2 was released, it was operating with a waiting list program. But on September 2022, Dall E 2 officially became available to the public, and any new user would get 50 credits for free, using which they can perform 50 tasks on Dall E for free.
Even if a single search produces multiple images, a single search would only cost the user one credit. Additionally, 15 monthly credits are also given to the registered users for free.
The cost to use Dall E 2 depends on your usage. If you rarely use the tool, you can use the free credits you get initially and every month after that. But if you use the tool extensively, you must use your hard-earned money to buy the extra required credits.
You first need to create an OpenAI account if you still need to create one. Creating an OpenAI account would mean you must share your phone number on OpneAI’s website. This extra layer of security is put in place to ensure that spammers don’t get into the tool.
Once you create an account, you will get 50 credits to generate images, with each generation costing one credit. You will also get 15 credits per month after that for free. These are enough to try out the tool as much as you want.
And in case you lose all your credits, you can spend 15 USD to purchase another 115 credits.
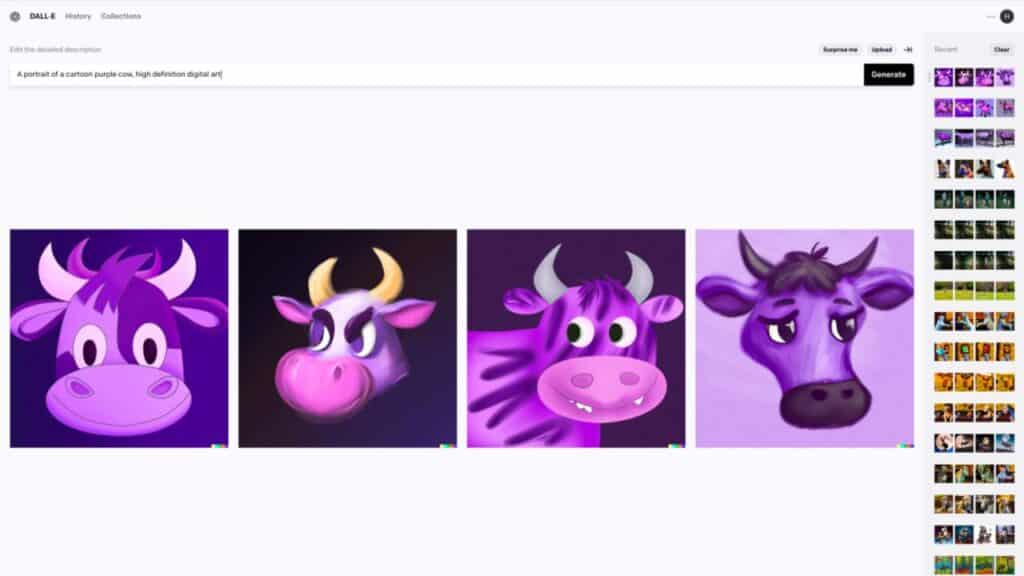
The quality of images that you get depends on the prompts you use. There are a few things to keep in mind when you are using your prompts. Firstly, it is best not to ask the AI tool for images close to reality.
You won’t be impressed with that. The more digital or painting-like photos you ask for, the better the results will be. But apart from this, there are other things to consider.
Dall E 2 also allows users to edit the created images within the tool itself.
Inpainting is removing a particular part of the created image and using AI to fill out the empty space. Outpainting is where you expand the borders of a created image further to get in more detail.
You can use both these options to enhance your image further. We will discuss both of them in more detail below.
You have the option of editing images created using Dall E 2 or even images that are already present on your device.
To edit an existing image, follow the steps mentioned below.

Inpainting lets you remove any specific part of your image.

You will get four results as usual, and you can either choose to pick one of the four results or further go about inserting prompts and inpainting the image again.
With the image in the editor, click on Add Generation frame. You can adjust how and in which direction you want your image to expand.
Enter what you want to add to the image in the prompt bar and click Generate. You will get four results as usual. If you like neither of the results, click on Cancel. And if you want any one of them, click on Accept.
You can add more generation frames now or save the creation you got on your screen.
Dall E 2 is fun to use on its own, but it works well with Zapier. Zapier lets users use Dall E 2 with other tools like Google Docs and Gmail.
This is a Slack integration of Dall E using Zapier. This Zap would let users create an image with Dall E based on Slack messages. The generated images will then be as channel messages in Slack automatically.
This is another integration of Dall E with Airtable records using Zapier. This zap would allow users to create images using the Airtable records as the creative prompts. Further, the results will automatically be mailed to any Gmail user.
The Google Form responses you collect from a pool of people can be used as a text prompt for Dall E with this zap. And the results will all be stored on a Google sheet automatically to improve the overall workflow.